The first time I tried the AI Site Builder from WordPress.com, I immediately noticed how it could create the kind of website or blog I wanted much faster than usual. By faster, I mean I didn’t have to overthink things like layout, content placement, or design structure. It felt like a more relaxed and intuitive way to start building something online.
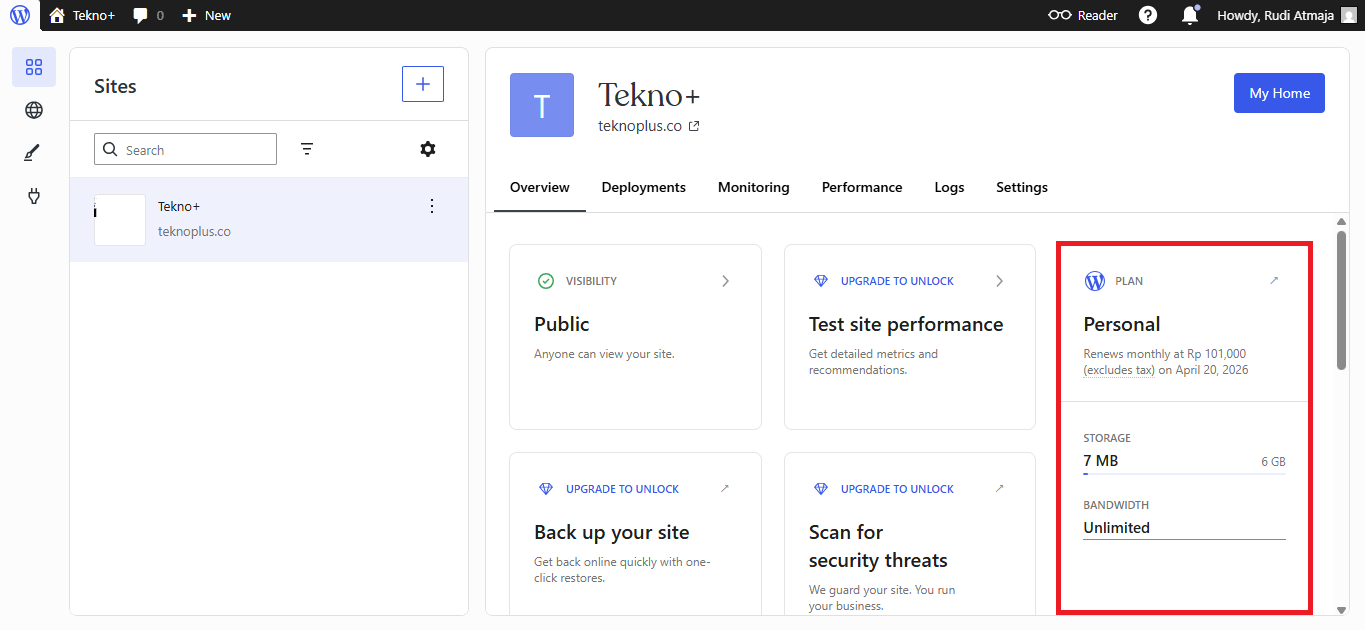
Even though you can try it for free, the free plan on WordPress.com only lets you design the homepage. On top of that, there are also limitations (credits limit) on how much you can actually use the AI features. That made me curious enough to upgrade, so I bought the personal plan for a month just to see how far the AI could really go.
After exploring it more deeply, I realized that upgrading to a paid plan unlocks much more than just basic website creation. The AI can actually help with a variety of other tasks beyond building templates, which I didn’t expect at first. What’s even better is that all of these features are accessible directly from the WordPress dashboard, making everything feel seamless.
So I wrote this piece to show what the AI can really do once you move beyond the free plan. It’s not just about generating a website template anymore, but about unlocking a broader set of tools that can support your entire workflow. In a way, upgrading changes the experience from simple experimentation into something much more powerful and practical.
What You Can Do Beyond Just Building a Website
When I first upgraded from the free plan, I thought the AI would mostly help with generating website layouts and basic structure. But after spending more time exploring the features, I realized it goes far beyond just building pages. It actually opens up a whole set of tools that can support different parts of your workflow.
What surprised me the most is how the AI can assist with content-related tasks directly inside the dashboard. Instead of switching between different tools, you can write, edit, and refine your content in one place. This makes the overall experience feel more efficient and less fragmented.
So rather than seeing it as just a website builder, it makes more sense to treat it as an all-in-one assistant for your site. Once you start using the paid features, you’ll notice that the AI becomes something you can rely on for more than just design. And that’s where things start to get really interesting before we dive into the specific features.
1. Content Writing Assistant
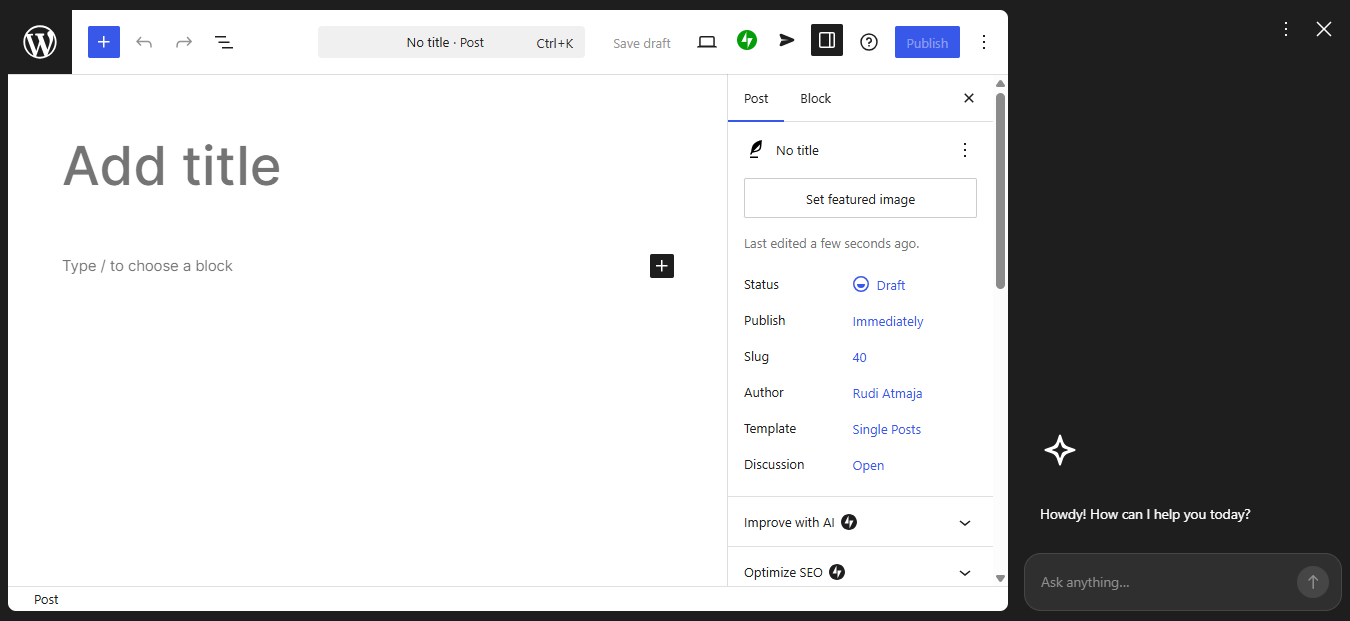
One of the most useful things I discovered after upgrading is how the AI can act as a built-in content writer. Instead of starting from a blank page, you can immediately get help generating a full draft for your post. This makes the writing process feel much less intimidating, especially when you’re short on ideas or time.
When you create a new post, you’ll notice an AI icon located at the bottom right of the screen. By clicking that icon, you can open the AI panel and start interacting with it right away. The interface is simple, so you can focus on what you want to create instead of figuring out how to use the tool.
From there, you can just type a prompt describing the kind of content you want. You can be as specific as you like, including the title, number of paragraphs, tone, and even the structure with headings. The more detailed your prompt is, the closer the result will match what you have in mind.

For example, instead of asking it to create a full blog post structure, you could write something like: “Write an engaging introduction about the benefits of using AI tools for blogging in 2 paragraphs with a casual tone.” You can also follow it up with prompts like: “Continue with 3 paragraphs explaining practical use cases,” or “Add a short conclusion that feels personal and relatable.” This way, you guide the writing step by step instead of generating everything at once.
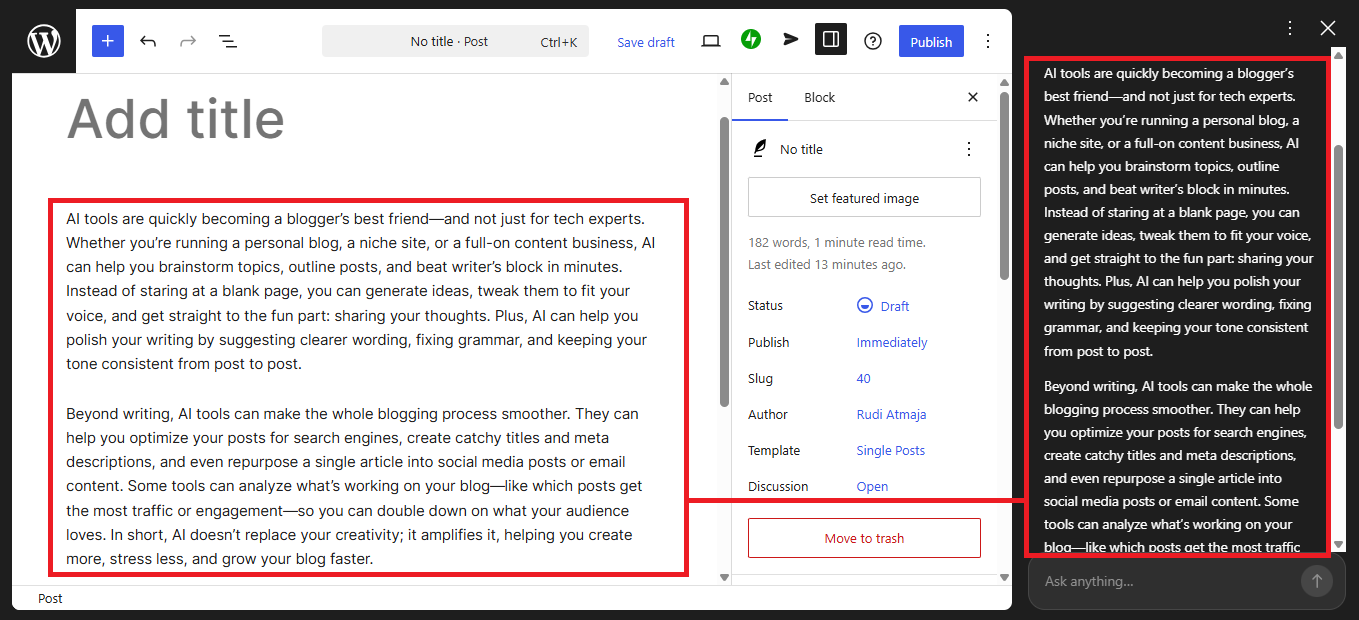
Once the AI generates the content, you’re not locked into the result. You can review everything, tweak the tone, or ask the AI to rewrite certain parts if they don’t feel quite right. It’s more of a collaborative process where you stay in control while the AI helps speed things up.
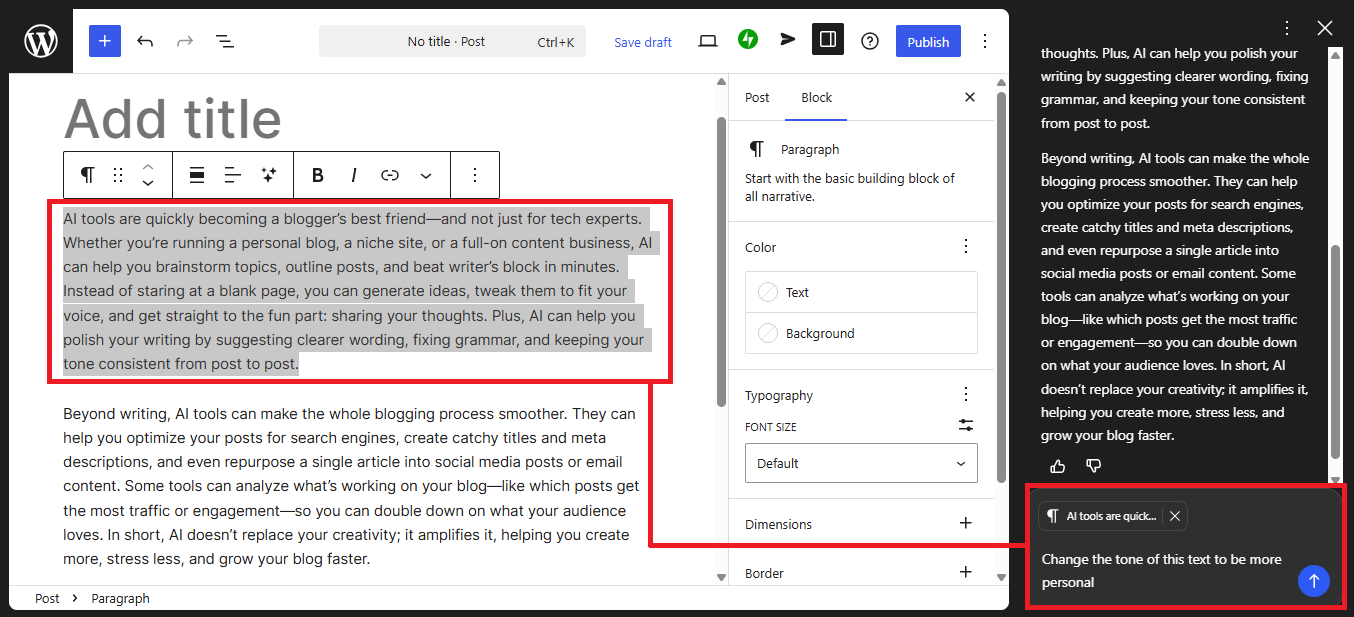
Once the AI generates the content, you can review it and simply copy the parts you like into your main post editor. This gives you flexibility to mix AI-generated content with your own writing style. It also helps you stay in control of how your final article turns out.
2. Generating Featured Images
Another feature that stood out to me is how the AI can also help you create featured images for your posts. Normally, finding or designing the right image can take extra time, especially if you want something that matches your content. With this feature, the process feels much quicker and more integrated into your workflow.
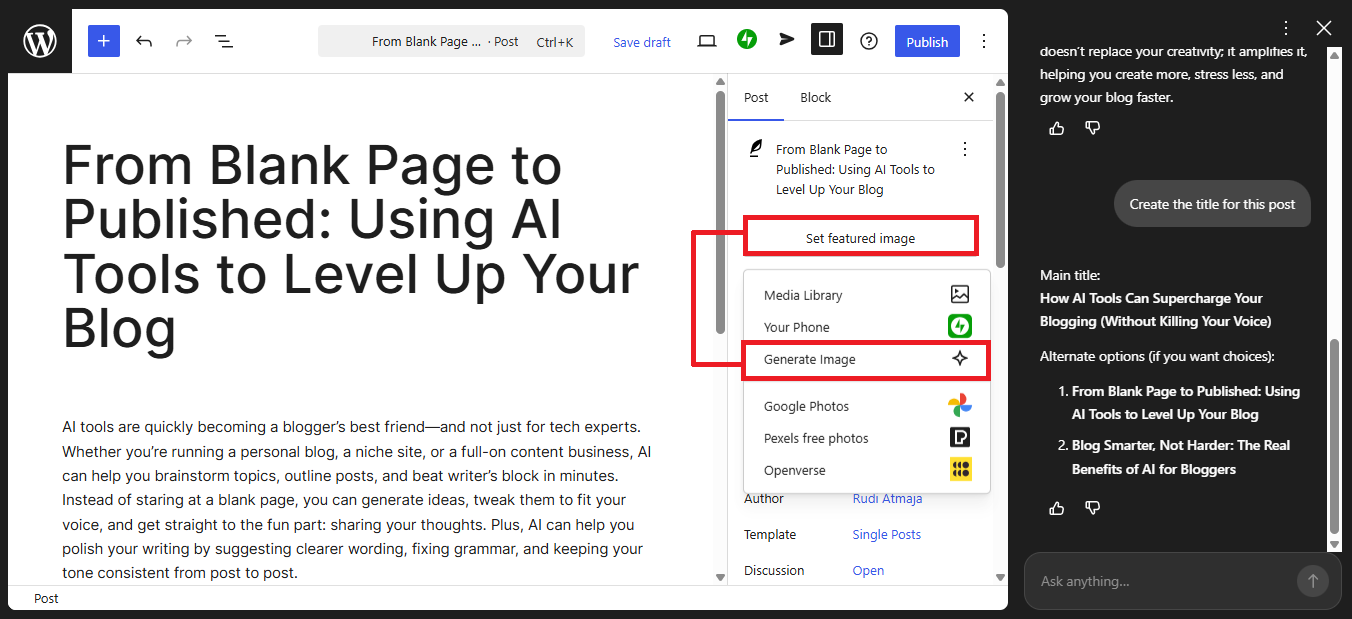
To get started, you just need to click on “Set Featured Image” inside your post editor. From there, you’ll see an option called “Generate Image” that lets you use AI instead of uploading your own file. This is where things start to feel really convenient, especially if you don’t have a ready-to-use image.
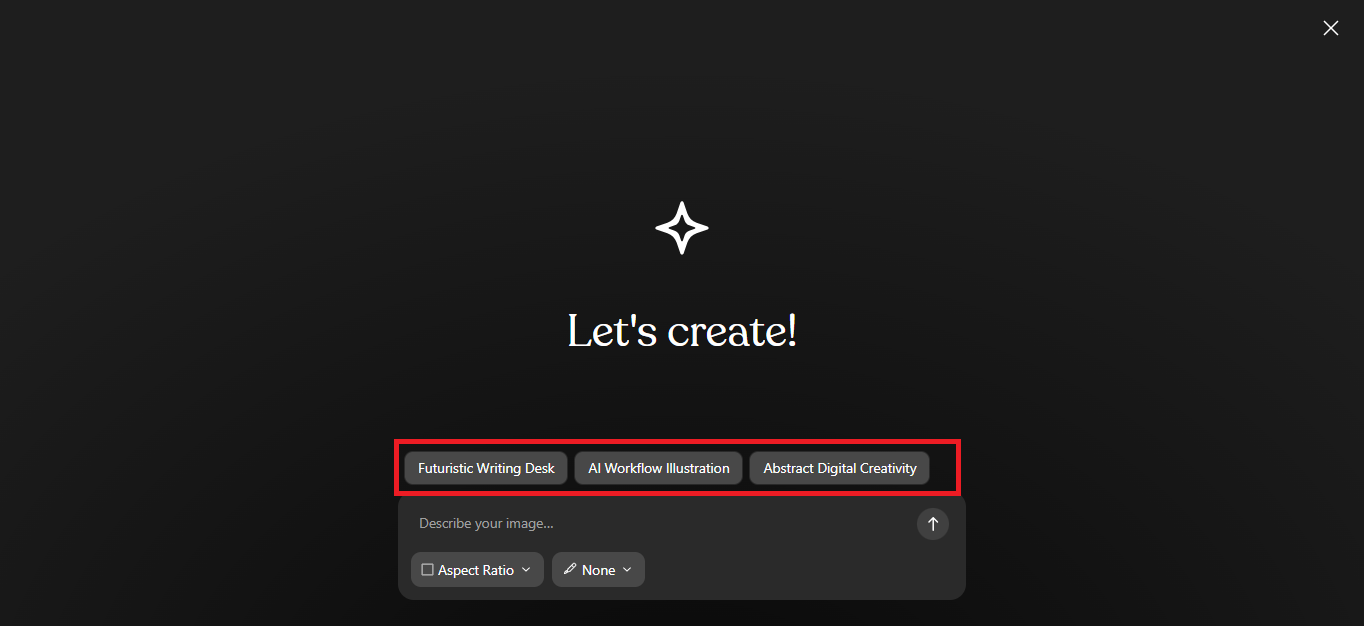
After selecting that option, the AI will begin generating suggestions based on your article. It will show prompts that are likely relevant to your content, so you don’t have to think too hard about what to write. In most cases, you can simply pick one of the suggested prompts and move on to the next step.
You’ll then be able to customize the image by choosing its size and style. There are several aspect ratios available like 1:1, 16:9, 9:16, 4:3, and 3:4, depending on how you want the image to appear. You can also select different visual styles such as vivid, anime, or other options that match the tone of your article.
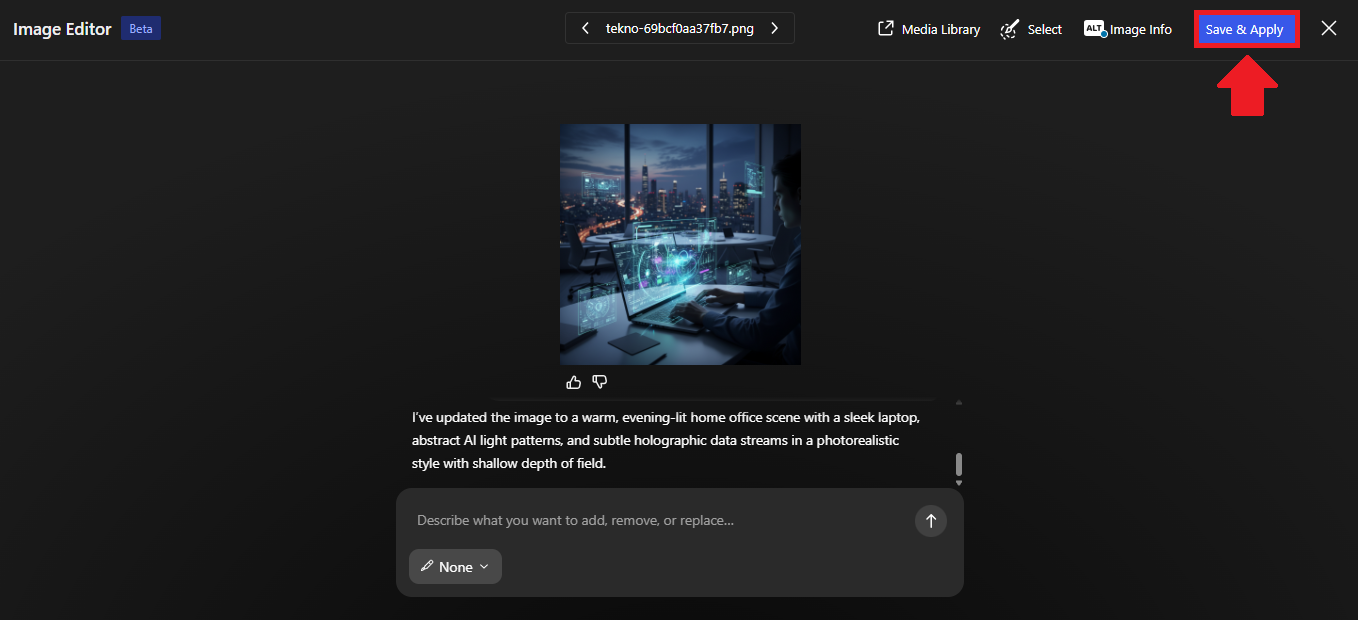
Once the image is generated, all you need to do is click “Save & Apply.” The image will automatically be set as your featured image without any extra steps. It’s a simple process, but it makes a big difference in keeping everything streamlined while still producing visually appealing results.
3. Improving or Generating Post Titles
Another feature that I found really helpful is the ability to create or refine your post title using AI. Sometimes, coming up with a strong and engaging title can be just as challenging as writing the content itself. With this feature, you can get instant suggestions without having to overthink it.
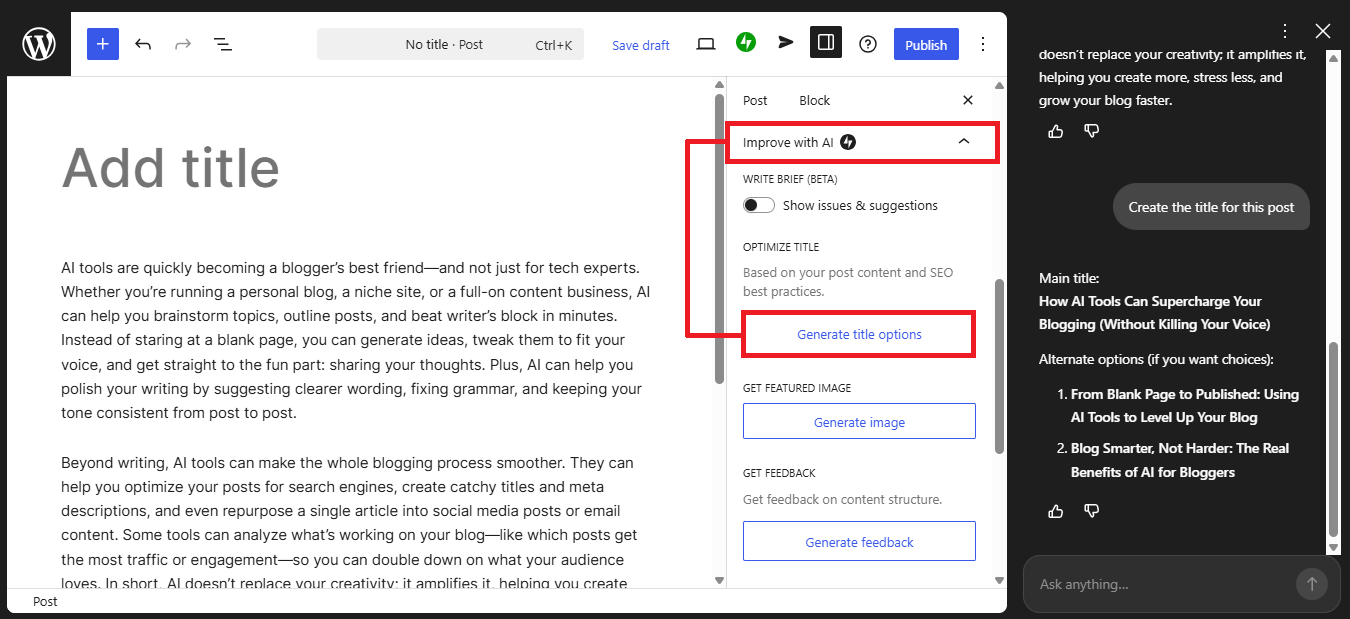
To use it, you just need to go to the “Improve With AI” tab inside your post editor. From there, click on the “Generate Title Options” button to start the process. The AI will then scan and analyze your content to understand what your post is about.
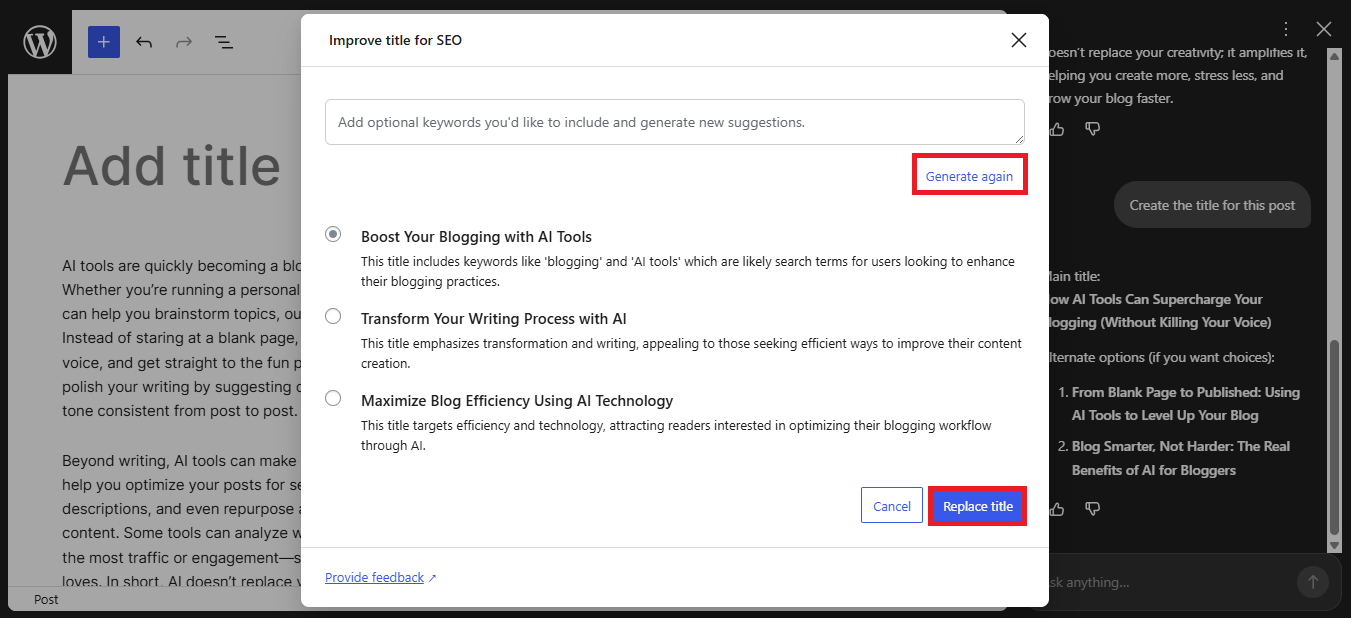
After analyzing your article, the AI will generate three different title recommendations. Each suggestion usually comes with a short explanation to help you understand the angle or intention behind it. This makes it easier to decide which one fits your content and audience best.
If none of the options feel quite right, you’re not stuck with them. You can simply ask the AI to generate more suggestions until you find one that matches your preference. This gives you flexibility while still saving time compared to brainstorming from scratch.
Once you find a title you like, you can apply it instantly by clicking the “Replace Title” button. The selected title will automatically replace your current one without any extra steps. It’s a small feature, but it can make a big difference in making your content more appealing and clickable.
4. Getting Feedback on Your Content Structure
Another feature that I didn’t expect to be this useful is the ability to get feedback on your content structure. Instead of just helping you write, the AI can actually review how your article is organized. This means it’s not only acting as a writer, but also as an editor that helps improve the overall quality of your post.
Content structure itself refers to how your ideas are arranged throughout the article. It includes things like the flow between paragraphs, the placement of headings, and how clearly your points are delivered. Even if your writing is good, a weak structure can make your content harder to follow.
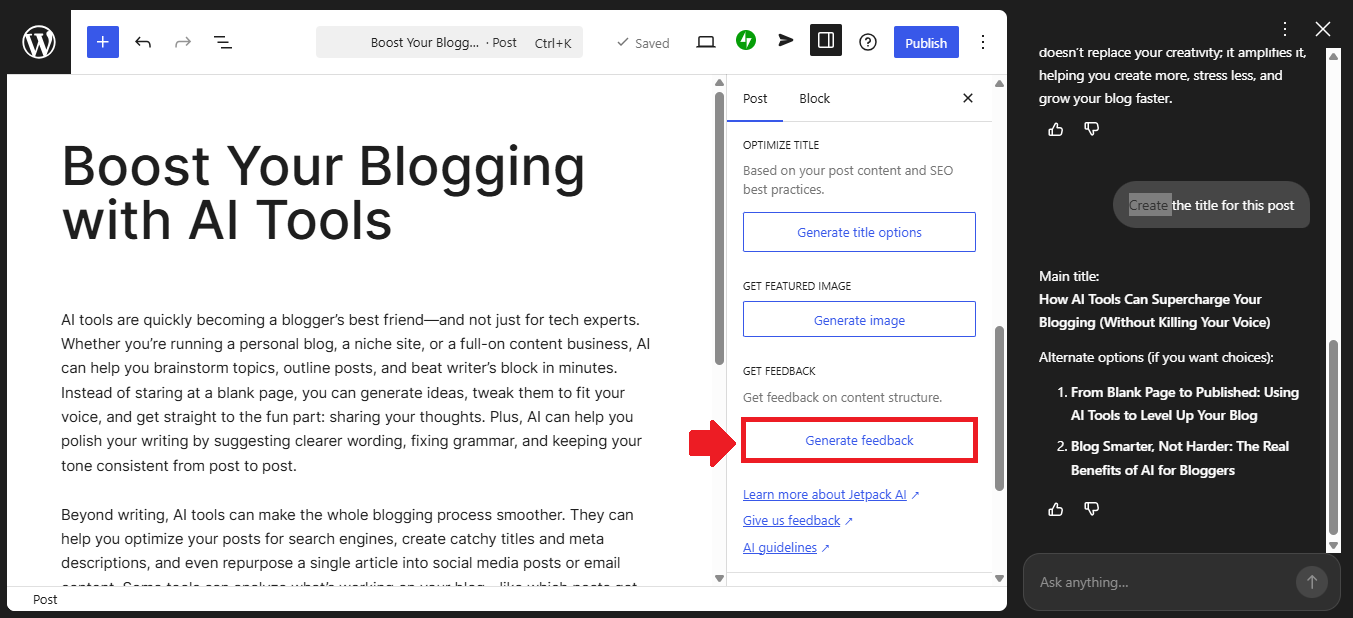
To use this feature, you can go to the “Improve With AI” section and click on the “Generate Feedback” button. Once you do that, the AI will start analyzing your content as a whole. It looks at how your ideas are presented and whether everything feels clear and well-organized.
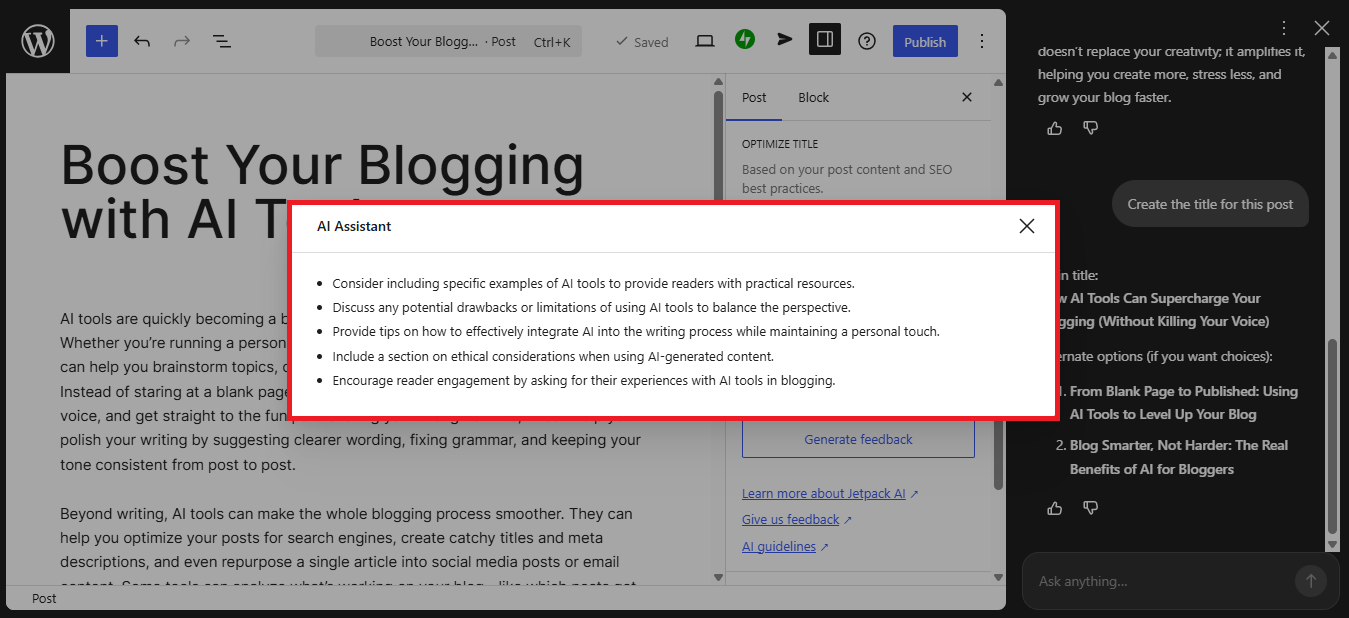
After the analysis is complete, the AI will generate feedback in the form of suggestions. These can include things like improving transitions between sections, adding missing headings, or making certain parts more concise. The suggestions are usually practical, so you can apply them directly without much confusion.
What I like about this feature is that it helps you see your content from a different perspective. Sometimes, when you write for a long time, it’s hard to notice what feels off. The AI feedback acts like a second opinion that points out areas you might overlook.
From there, you can decide which suggestions to apply and adjust your content accordingly. You’re still in control of the final result, but now you have clearer guidance on how to improve it. Over time, this can also help you naturally develop a better sense of structuring your writing.
5. Writing an Excerpt
Another feature that’s worth paying attention to is the ability to generate an excerpt using AI. An excerpt is basically a short summary of your post that gives readers a quick idea of what the content is about. It’s usually displayed in blog listings, search results, or previews, so it plays an important role in attracting clicks.
Writing a good excerpt isn’t always as easy as it sounds. You need to keep it concise while still making it engaging and informative. That’s where the AI can step in and help you create something that feels balanced without spending too much time thinking about it.
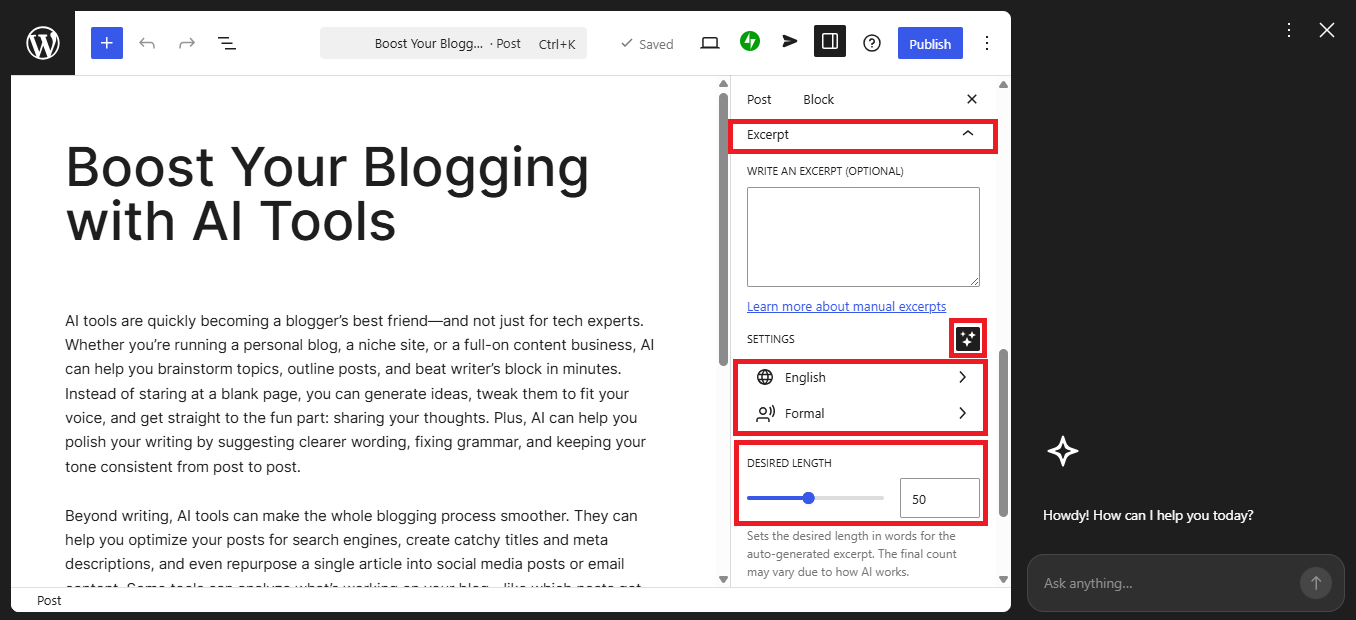
To use this feature, you can go to the “Excerpt” tab inside your post editor. From there, click on the AI icon located just below the excerpt field to start generating one. The process is simple and doesn’t interrupt your workflow.
Once the panel opens, you can choose the language and tone that you want the excerpt to have. You can also adjust the desired length depending on how short or detailed you want it to be. This gives you enough control to match the excerpt with the style of your content.
After setting everything up, just click the “Generate” button and the AI will create the excerpt for you. You can review the result, make adjustments if needed, or generate another version until it feels right. It’s a small feature, but it can make your content look more polished and professional without much extra effort.
6. Optimizing SEO
Another capability that’s worth mentioning is SEO optimization using AI. SEO, or Search Engine Optimization, is all about improving your content so it can be found more easily on search engines like Google. This usually involves things like writing effective titles, descriptions, and image alt text that help search engines understand your content.
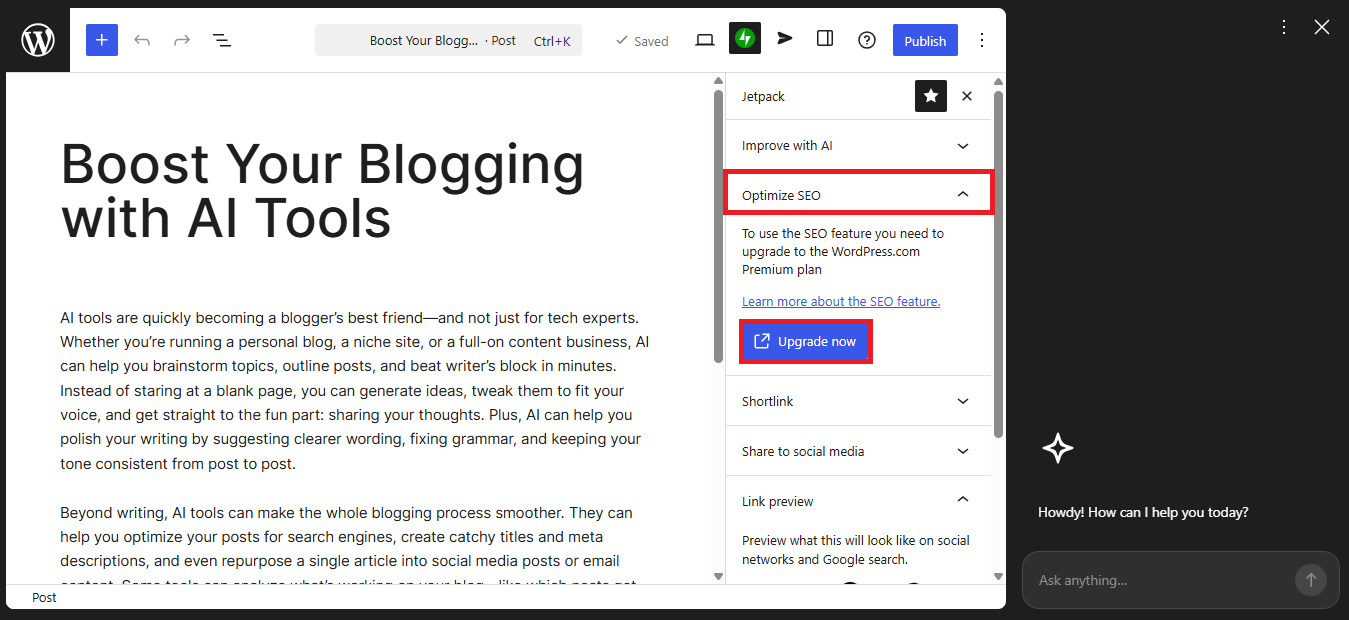
However, in my case, I wasn’t able to actually use this feature. Since I’m on the Personal plan, access to AI-powered SEO tools isn’t included. These features are only available for users on the Business and Commerce plans, which offer more advanced capabilities.
Even though I couldn’t try it directly, the feature itself is quite interesting. WordPress allows you to use AI to generate important metadata such as SEO titles, SEO descriptions, and image alt text. There’s even an option to automatically generate metadata, which can save a lot of time, especially if you’re managing multiple posts.
If you want to explore this further, you can check the official documentation here: https://wordpress.com/support/seo/seo-tools/. It gives a clearer picture of how these tools work and what you can expect if you decide to upgrade.
Final Thoughts
After spending some time exploring these features, I started to see that the WordPress AI Site Builder is more than just a tool for creating websites. It actually works as a companion that helps with writing, editing, structuring, and even visual elements like images. Once you move past the free plan limitations, the experience becomes much more complete and practical for everyday use.
What makes it even more interesting is how everything is integrated into a single dashboard. You don’t need to switch between different tools to write content, generate images, or improve your posts. This kind of workflow can save a lot of time, especially if you regularly create content for blogs or websites.
If you’re curious about trying it out, I’d definitely recommend starting with the free version first. It gives you a basic idea of how the AI works and how it fits into your workflow. From there, you can decide whether upgrading is worth it based on your needs and how much you plan to use the AI features.
>>> Try WordPress AI Site Builder Free <<<
And if you want a broader overview of what’s possible, you can also check out my article titled “10 Things You Can Do With WordPress AI Site Builder.” It covers more ideas and use cases that might help you get the most out of the platform.