Moving a website can sound like one of those “don’t touch anything or it will break” jobs. You’ve got posts, pages, images, comments, maybe even years of work sitting there, so it makes sense to feel a little nervous. But transferring a WordPress.org website to WordPress.com is not as scary as it looks when you know what to do first.
Maybe you started with WordPress.org because you wanted full control. You picked your own hosting, installed plugins, adjusted settings, and handled the technical side yourself. Over time, though, all that control can start to feel more like a chore than a benefit.
That is where WordPress.com becomes appealing. It takes care of hosting, security, backups, updates, and a lot of the behind-the-scenes maintenance that usually eats up your time. Instead of worrying about server issues or plugin conflicts every other week, you can focus more on writing, selling, publishing, or growing your site.
Of course, this move is not something you should do randomly. A proper transfer means knowing what will move, what might need extra attention, and what you should check before pointing your domain to the new site. The goal is not just to “move the site,” but to move it cleanly without losing important content or confusing your visitors.
In this guide, we will walk through the process step by step in a simple, practical way. No dramatic tech talk, no unnecessary confusion, and no assuming you already know every WordPress setting by heart. By the end, you should have a clear idea of how to transfer your WordPress.org website to WordPress.com with much more confidence.
Before You Start the Transfer
Before you start moving your WordPress.org website to WordPress.com, it is worth slowing down for a moment. A migration is much easier when your site is prepared properly from the beginning. Think of this step as cleaning up the room before moving the furniture, so you do not carry old problems into the new place.
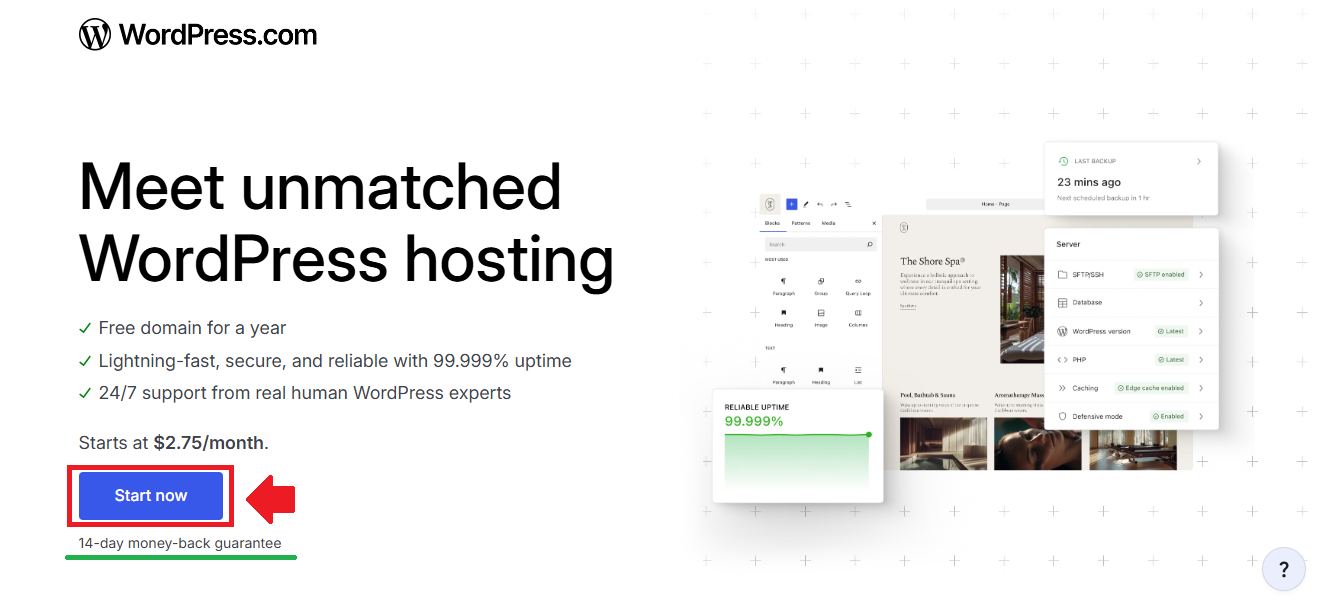
The first thing to know is that you will need a paid WordPress.com plan. The free plan is great for basic blogging, but transferring a full WordPress.org website usually requires features that are available on paid plans. This is especially important if your site uses custom plugins, themes, or more advanced tools that are not supported on a free setup.
Next, you should check whether any of your current plugins are incompatible with WordPress.com. Some plugins may not work because WordPress.com already includes similar features, or because they can affect security, performance, or how the platform runs. Before you begin, take a look at the official list of incompatible plugins and disable any plugin on your WordPress.org site that appears there.
It is also a good idea to update your WordPress.org site before exporting anything. Make sure you are using the latest version of WordPress, then update all active plugins and themes as well. This helps reduce errors during the transfer and gives your content a cleaner, more stable starting point.
Do not skip this part just because it feels less exciting than the actual migration. A site that is outdated, overloaded with problematic plugins, or running on old theme files can create unnecessary headaches later. Spend a few minutes checking these things now, and the move to WordPress.com will feel much smoother once you begin.
How to Transfer a WordPress.org Website to WordPress.com
Once your WordPress.org site is ready, you can finally move into the actual transfer process. This is where your content starts making its way from your self-hosted site to its new home on WordPress.com. The process is not as complicated as it may seem, but it does need to be done carefully.
Try not to treat the migration as a quick copy-and-paste job. Your posts, pages, images, comments, menus, and settings all need to be handled properly so the new site does not feel broken or half-finished. A little patience here can save you from a lot of cleanup later.
Before you begin clicking through the transfer tools, make sure you still have access to both sites. You should be able to log in to your WordPress.org dashboard and your WordPress.com account without any problem. That way, you can move between the two sites easily while checking that everything is coming over correctly.
Step 1: Run the WordPress.com Importer Tool
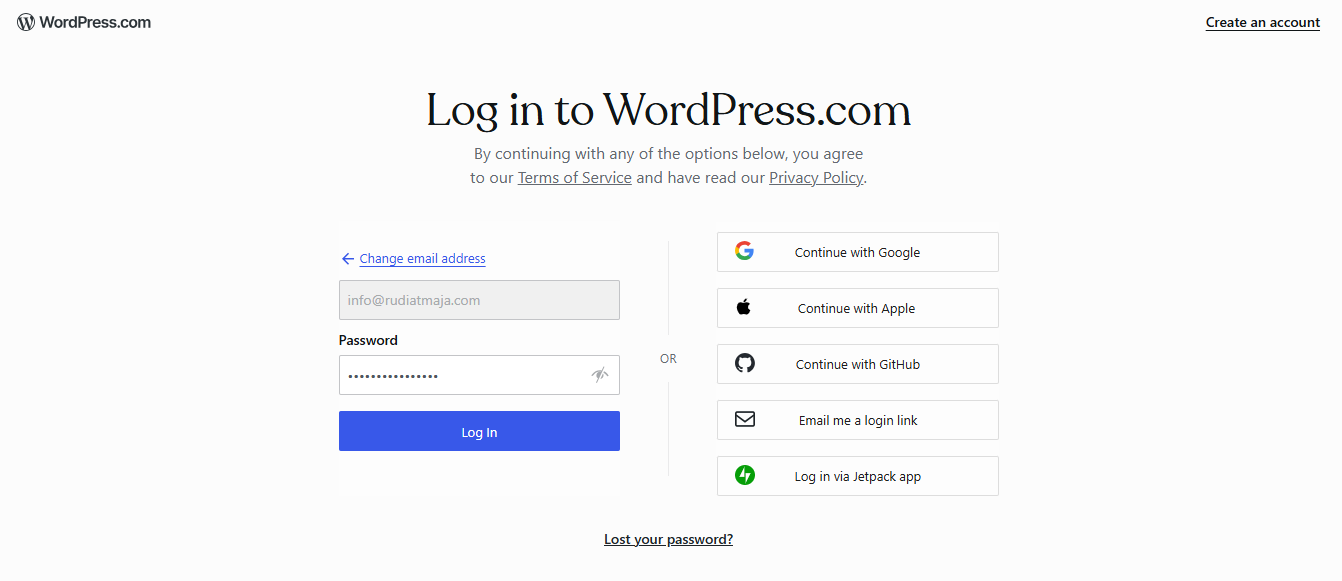
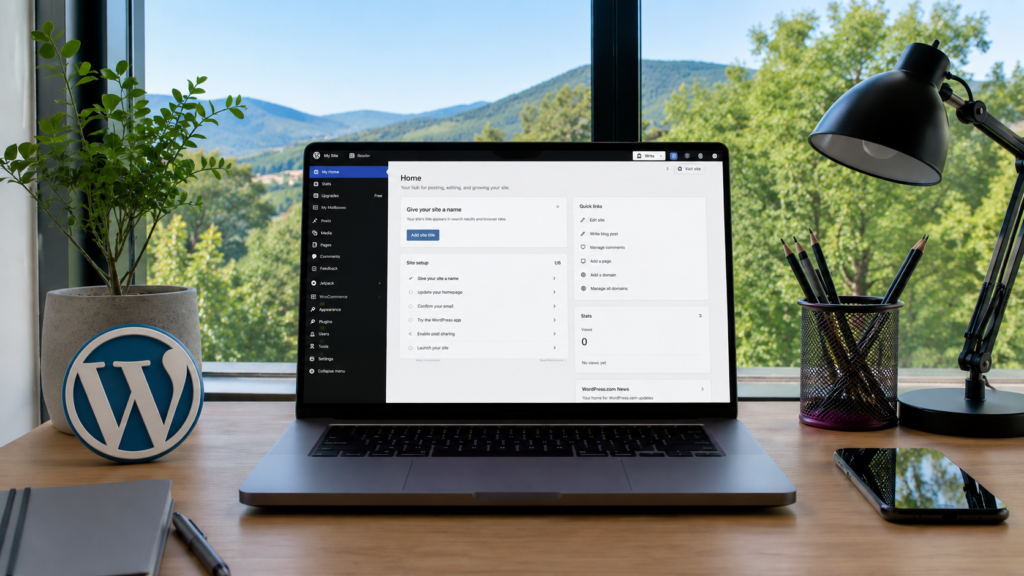
To begin, log in to your WordPress.com account or site that will be used as your destination site. If you do not have one yet, you can create a WordPress.com account first. After logging in, go to the dashboard of your destination site.

From the dashboard, navigate to Tools → Import. At the top of the Import page, look for the WordPress.com option. Under that option, click the Run Importer link.
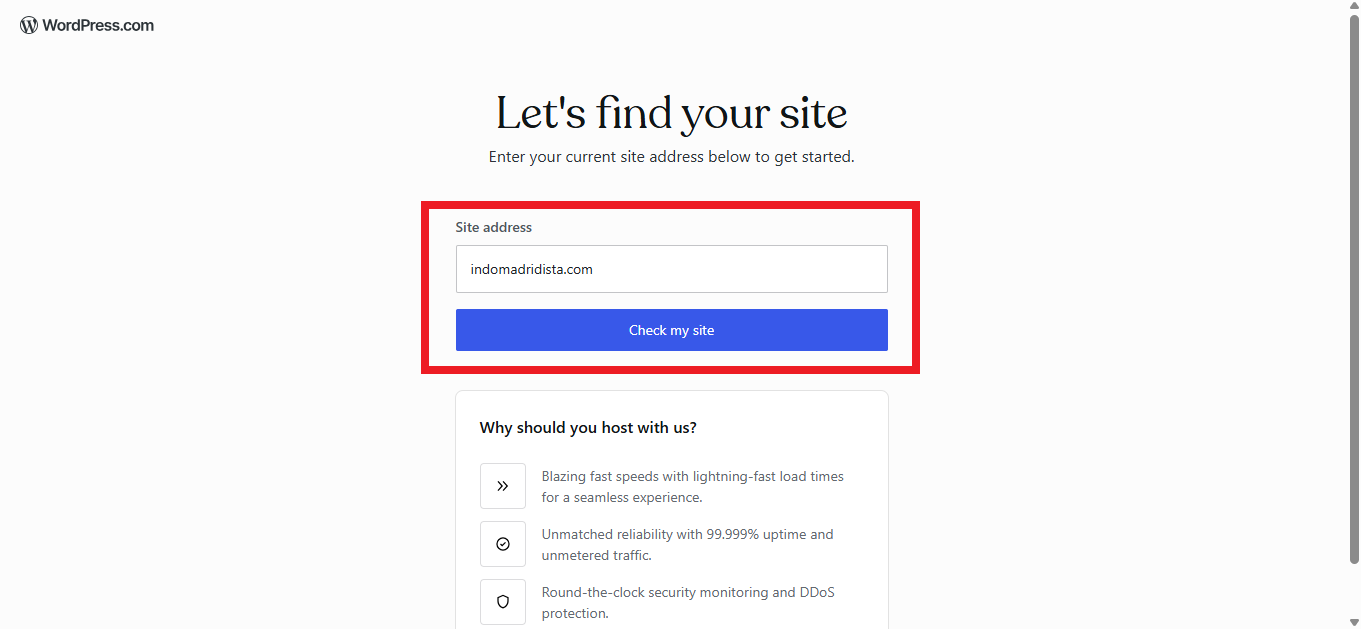
Next, enter the URL of your source site in the available text box. After adding the site address, click the Check my site button. WordPress.com will then check the site you want to move.
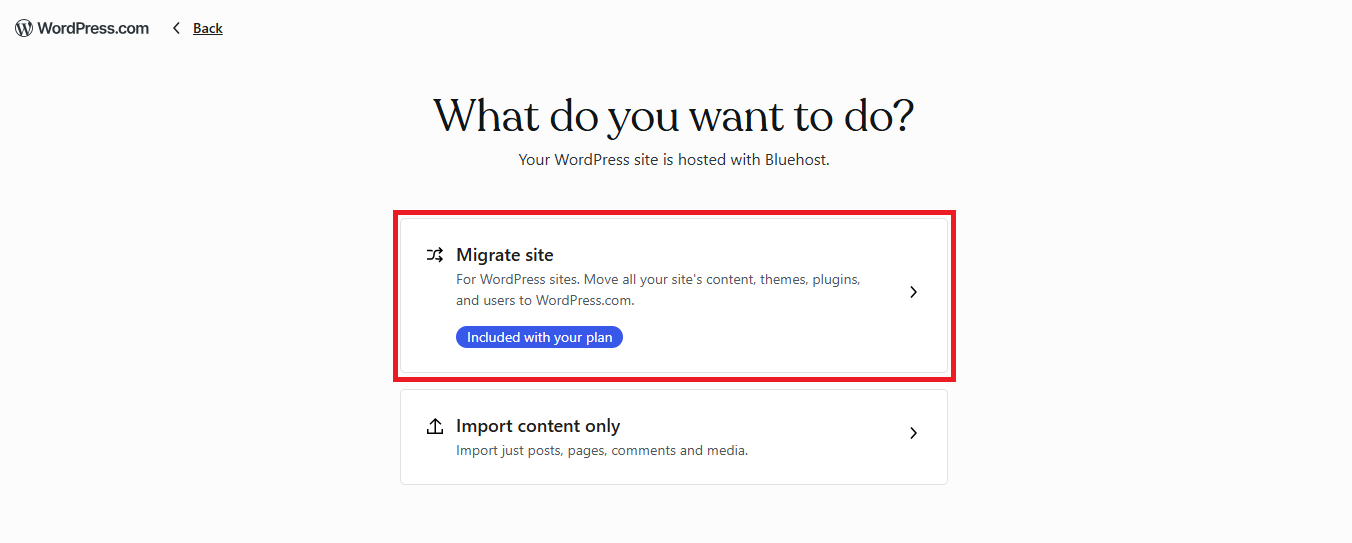
After that, choose the Migrate site option. This option imports everything from your source site, including content, plugins, themes, users, and customizations.
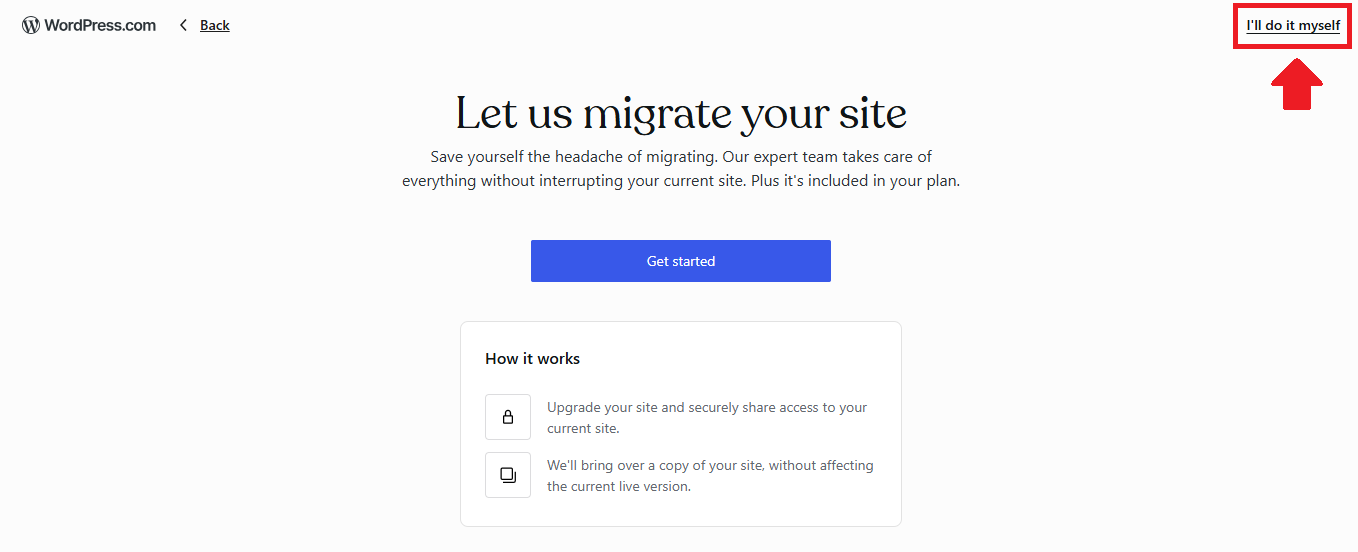
On the next screen, select I’ll do it myself.
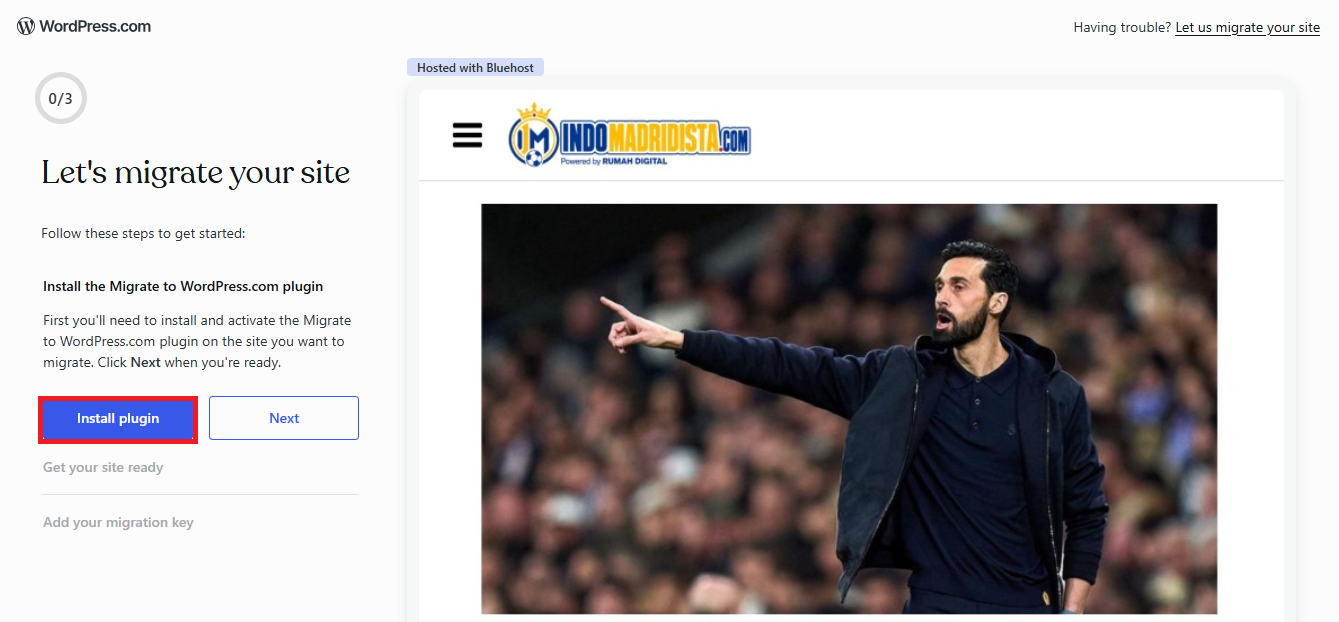
Next, click the Install Plugin button to continue the migration process.
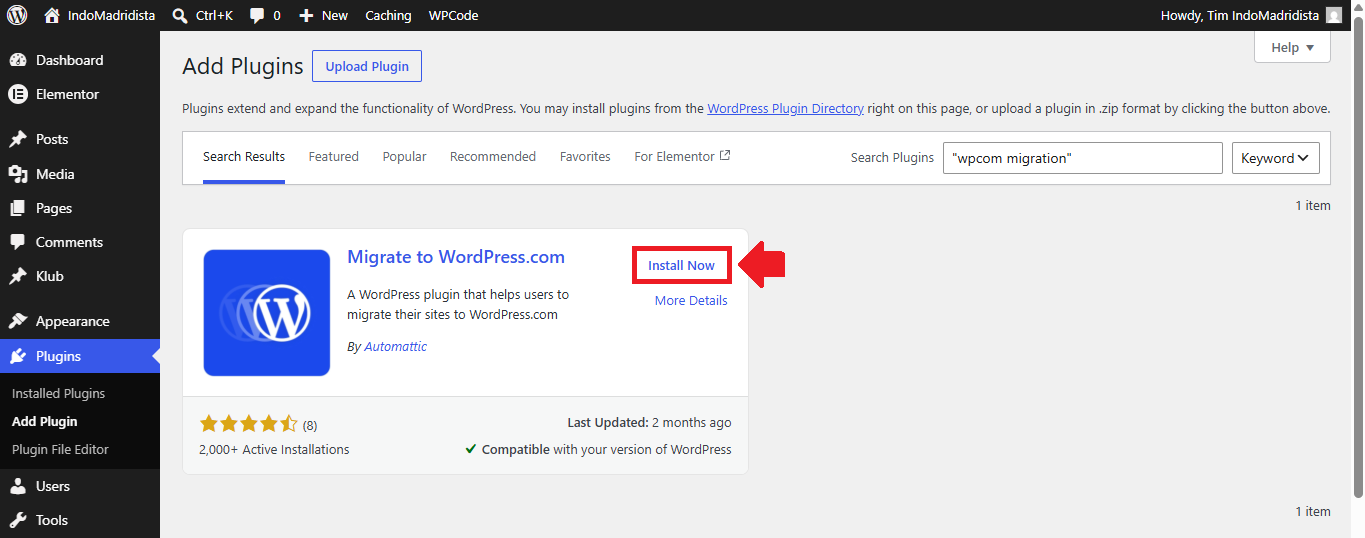
After clicking Install Plugin, you will be taken to your WordPress.org website to install the Migrate to WordPress.com plugin. Once you arrive there, simply install and activate the plugin. After the plugin is activated, you can move on to the next step of the migration process.
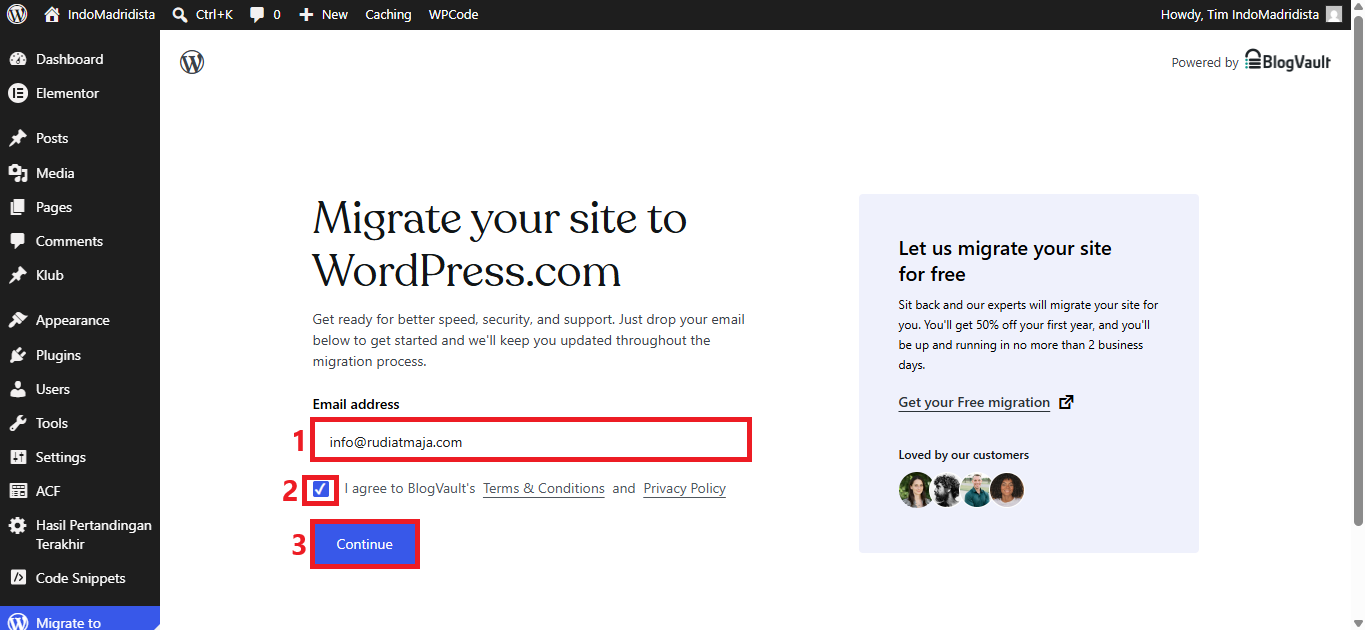
After the plugin is activated, you will be taken to the Migrate your site to WordPress.com page. There, enter your email address, check the agreement box, and click the Continue button. This email address will be used to send notifications about your site migration process.
Step 2: Get Your Migration Key
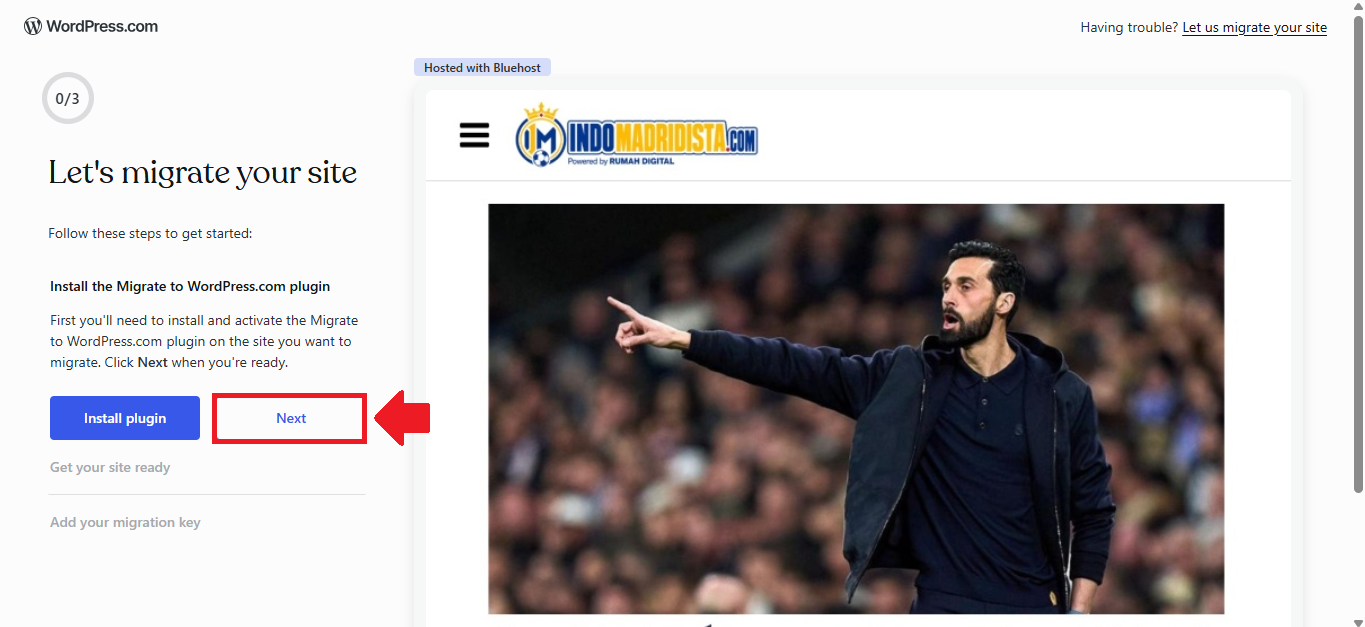
At this point, you will be asked to enter a Migration Key. To get it, return to the WordPress.com browser tab you were using earlier and click the Next button.
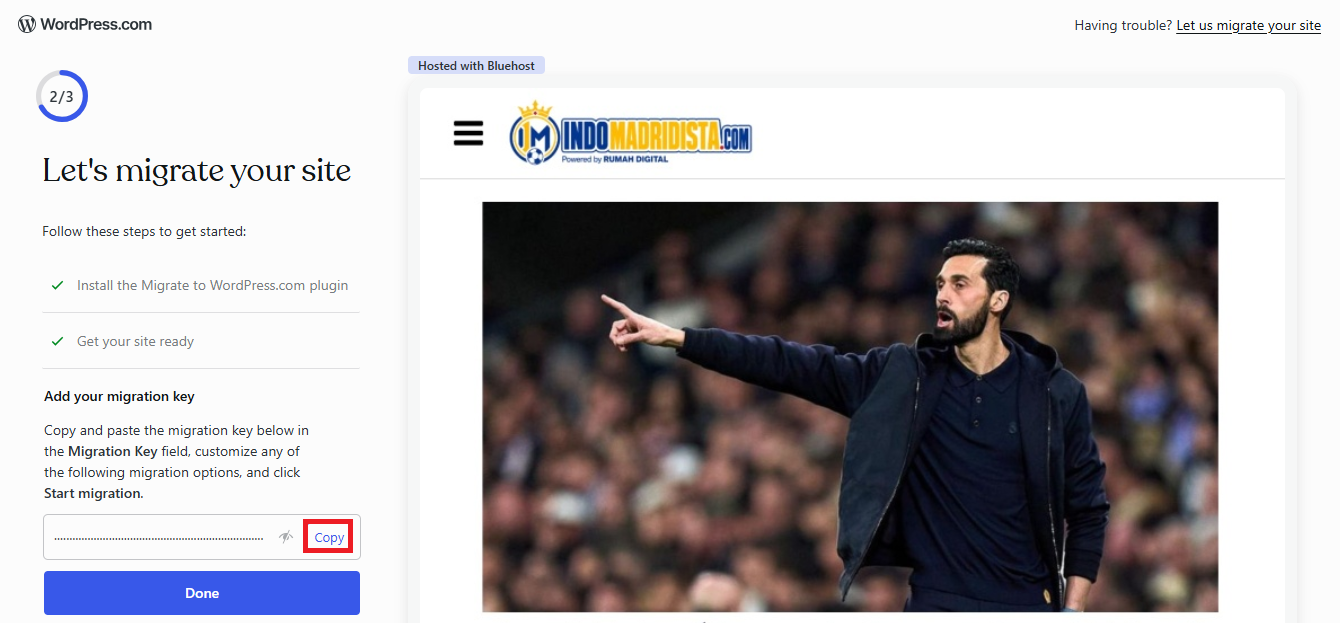
WordPress.com will then generate a Migration Key for your transfer. Copy the key that appears on the screen, switch back to your WordPress.org site, and paste it into the Migration Key field. Once the key has been entered, you can continue with the migration process.
Step 3: Start the Migration
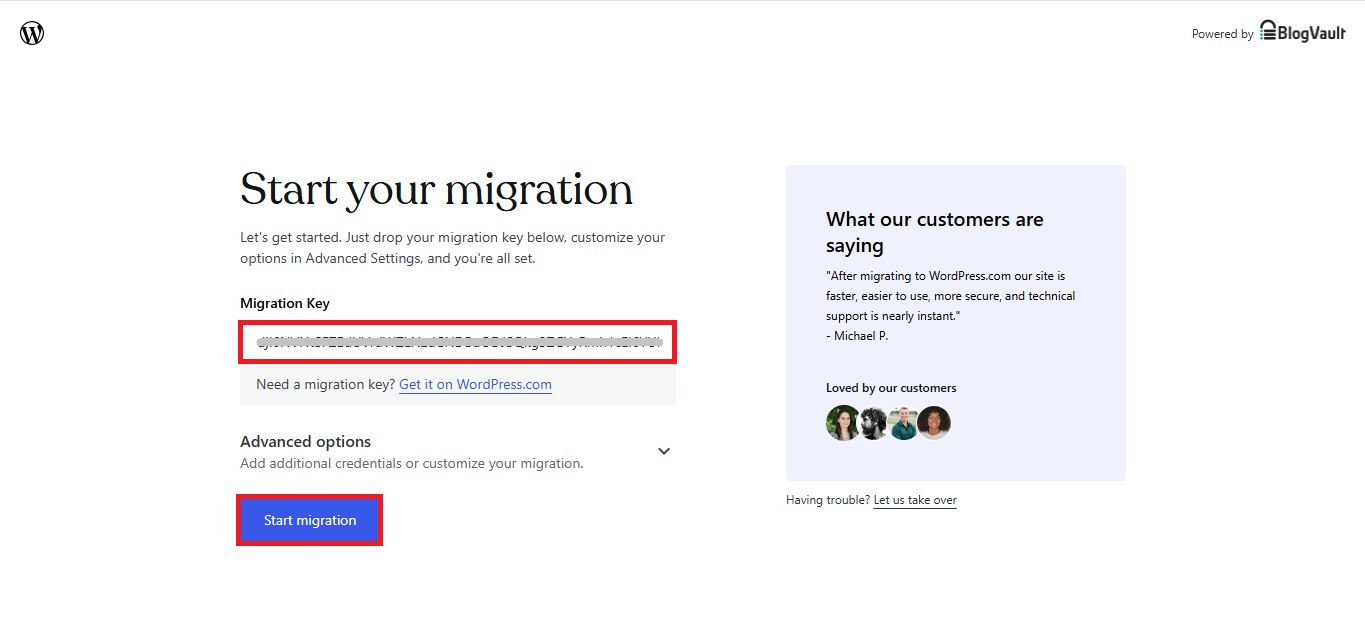
After pasting the Migration Key into your WordPress.org site, click the Start migration button. This will begin the process of moving your site from WordPress.org to WordPress.com.
Before starting, you can also click Advanced Options to view extra settings. These include Source site credentials, which you can use if your site is password protected, Customize migration, where you can choose the tables and folders you want to migrate, and Database tables.
However, if you want to move everything from your WordPress.org site, you do not need to change any additional settings. Just leave the options as they are and start the migration.
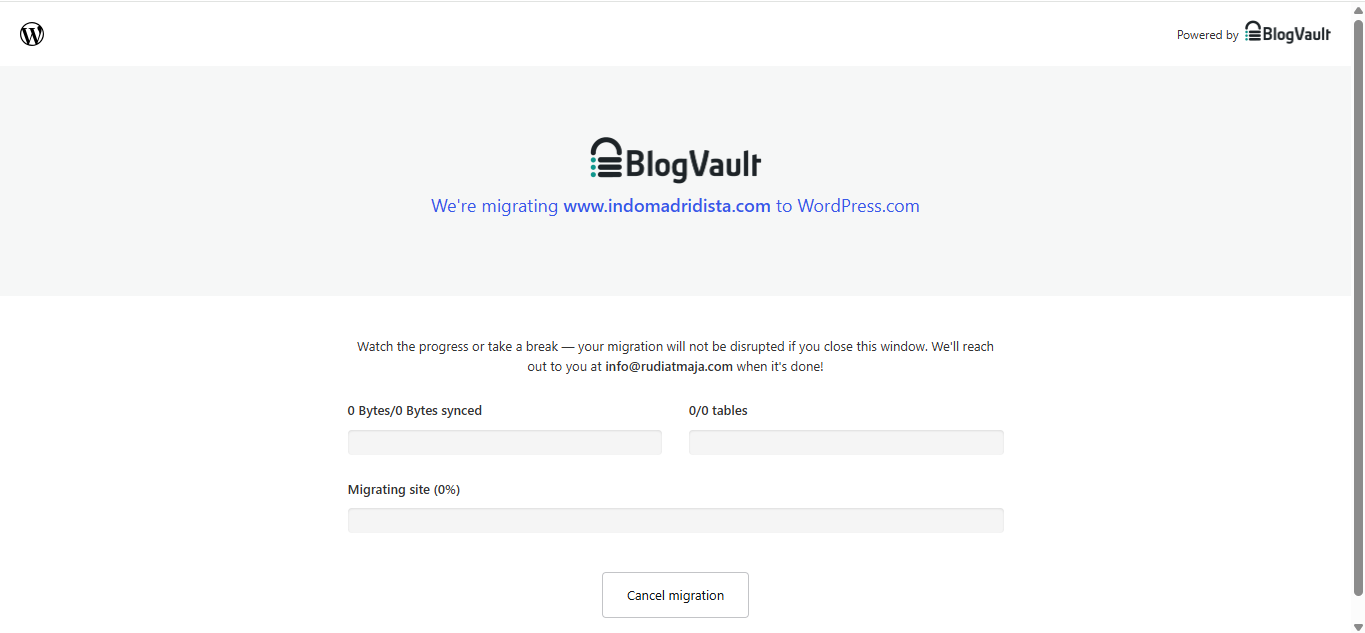
You can now monitor the migration progress on the screen. The process may take longer if your website contains a large amount of content, media files, plugins, themes, or database data.
You do not need to keep the tab open while the migration is running. Feel free to close it and continue with other work if needed. Once the migration has been completed, WordPress.com will send a notification to the email address you provided earlier.
Step 4: Review Your Migrated Site
Once the migration is complete, log in to your WordPress.com dashboard and open your migrated site. Check your pages, posts, images, menus, links, and other important parts of the site to make sure everything is working properly.
At this stage, your site may not be using your custom domain yet. Instead, it may still use a temporary WordPress.com staging address, such as yourdomain.wpcomstaging.com. That is completely fine because you can update the domain settings in the next step.
You should also review the administrators on your site and remove anyone who should no longer have access. This is a good time to make sure only the right people can manage your WordPress.com site.
Next, review the plugins that were carried over during the migration. Remove any plugins you no longer need, and check whether the licenses for your premium plugins and themes are still active. If anything does not work as expected, contact the plugin or theme developer for help.
You should also migrate your subscribers from the source site, because subscribers and post likes do not transfer automatically.
Step 5: Connect Your Domain Name

Now it is time to connect your domain name to your new WordPress.com site. From your WordPress.com dashboard, click Upgrades → Domains. On the Domains page, click the small downward arrow on the Add New Domain button, then select Use a domain I own.
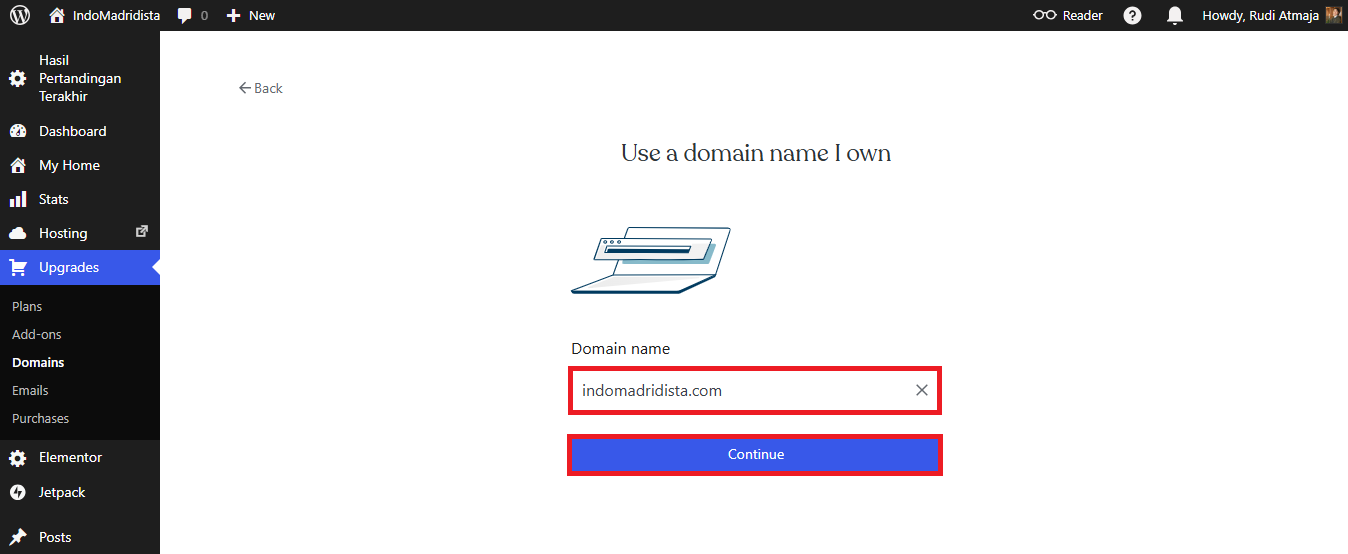
Next, type your domain name into the field provided and click the Continue button. WordPress.com will then show you the available options for using that domain with your site.
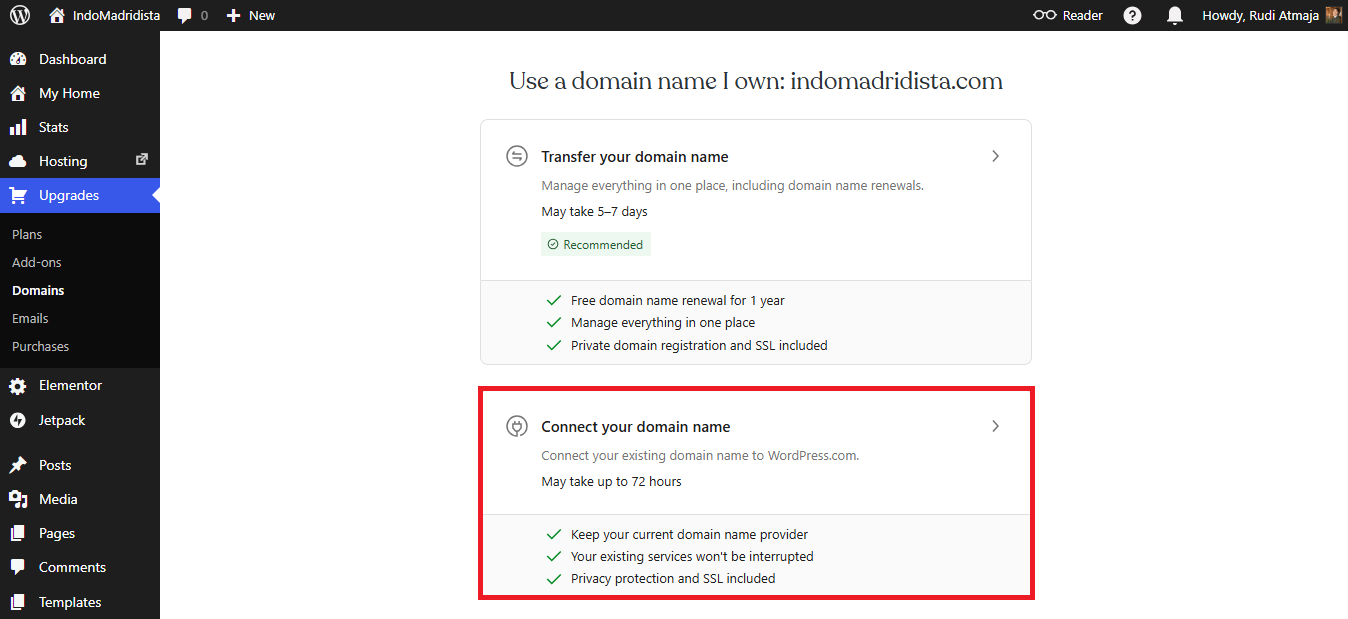
On the next page, you will see two options. The first option is to transfer your domain to WordPress.com, which lets you manage both your WordPress.com hosting and your domain name in one place. The second option is Connect your domain name, which keeps your domain with your current registrar while connecting it to your WordPress.com site. For this example, choose Connect your domain name.
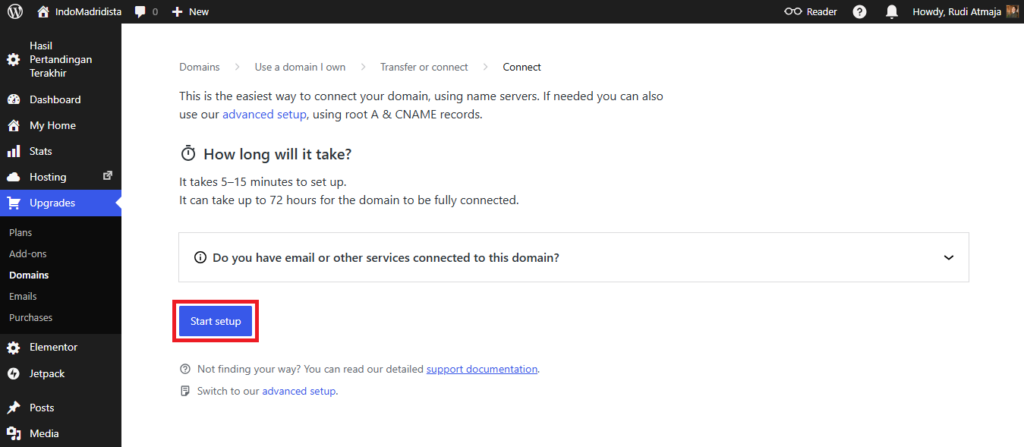
After that, click the Next button to view the nameservers provided by WordPress.com.
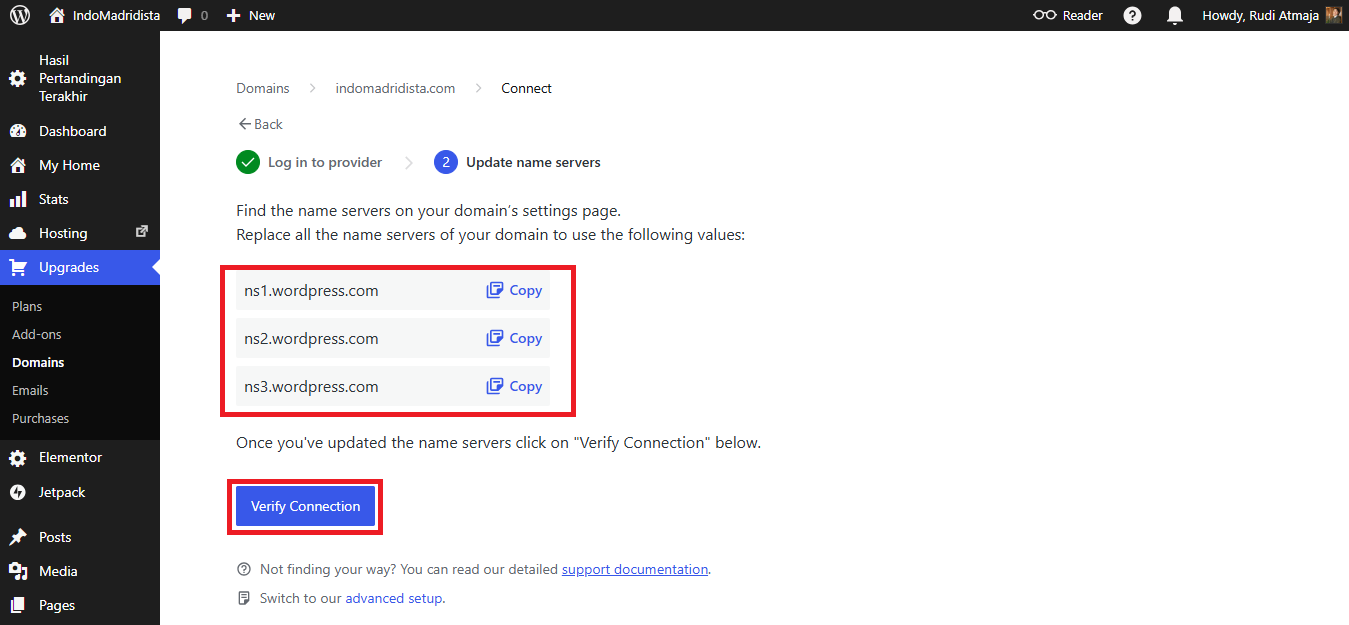
Once you have the nameservers, go to your domain registrar and replace your current domain nameservers with the WordPress.com nameservers. After saving the changes, wait a few minutes to a few hours for the domain to propagate and connect properly to your WordPress.com site.
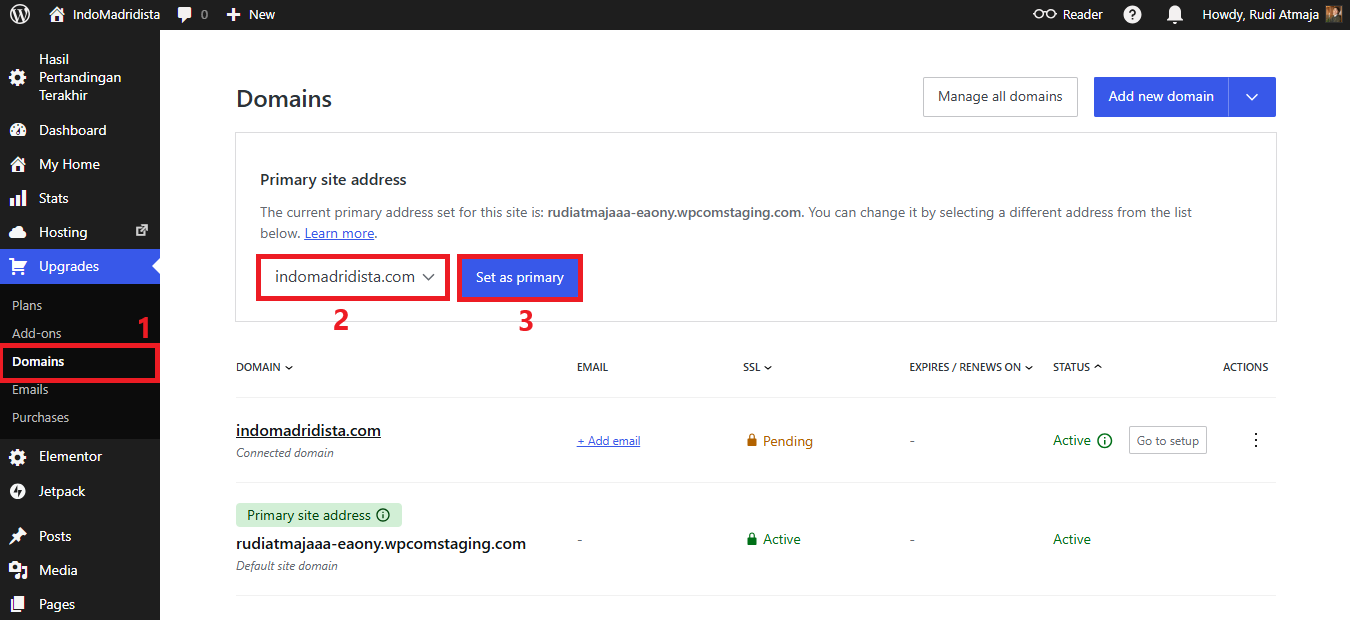
Once the domain has finished propagating, return to your WordPress.com dashboard and go to Upgrades → Domains. Under Primary site address, select your domain name and click the Set as Primary button.
After that, your custom domain will become the main address of your website. Your WordPress.com site is now ready to use, and visitors will be able to access it through your domain name as usual.
Final Thoughts
Moving a WordPress.org website to WordPress.com can feel like a big step, especially if your site has been running for a long time. But once you prepare your site, run the importer, review the migrated content, and connect your domain, the whole process becomes much easier to manage.
The most important thing is to check everything carefully before you fully use the new site. Make sure your posts, pages, images, plugins, users, and domain settings are working the way they should. A quick review can help you catch small issues before your visitors notice them.
After everything is set up, you can start enjoying the simpler side of WordPress.com. With hosting, security, updates, and maintenance handled for you, there is less technical work to worry about. That means you can spend more time focusing on your content, business, or whatever your website was built for in the first place.